Cancelling a scheduled class
Learn how to cancel a class that has been published via a reserVie schedule. This guide covers cancelling individual dates, notifying registered clients, and managing the impact on bookings.
Introduction
A reserVie schedule is a widget that can be placed on a website to automatically generate and display events in a timetable or schedule which can be embedded directly into your website.
*This document refers to the schedule versions 3 (or greater) of the schedules, which are available in reserVie version 1.20.x.x or higher. *
*Previous versions of the schedule are now deprecated. If you have created a version of the schedule prior to version 1.20.x.x, you will still have access to these. However, older versions of the schedule can no longer be generated for new schedules. *
*Note: The help page is specifically for the integration of reserVie into a wordpress site. If you are using an alternative website builder, please refer to: *‘Getting started with Schedules’
Integrating the schedule to Wordpress
Getting started with reserVie schedules is quick and simple, taking just a few minutes. They are compatible with most websites and simply need the ability to embed HTML scripts into a webpage (which is possible with most editors/website providers). If you are adding a schedule to Wordpress, the first stage is to create the schedule.
For further information, please click ‘Getting started with Schedules’
Adding a schedule to Wordpress
Once your have created your schedule, the next stage is to integrate this in to wordpress.
There are two options available for the integration of a schedule:
- Wordpress Block editor (Wordpress 5.x or greater) - Block Editor offers the easiest way to integrate the schedule into your wordpress site.
- Where you are using an older version of Wordpress or using the classic editor, plugins offer a way to integrate the reservie schedule page- there are a number of plugins available for plugging in 3rd party HTML into a wordpress site. We recommend the use of ‘Headers and Footers’ and will assume the use of this plugin for your website for the remainder of the guide.
- Create a template - this approach is best managed by a web designer as it it required specialist knowledge of the templating system used by wordpress. This approach is outside the scope of this document. If you would like to use the template, please pass the reservie schedule ‘code’ (as discussed in Getting started with Schedules ) to your web designer.
Wordpress block editor
The Wordpress block editor offers the simplest method to integrate the schedule into Wordpress.
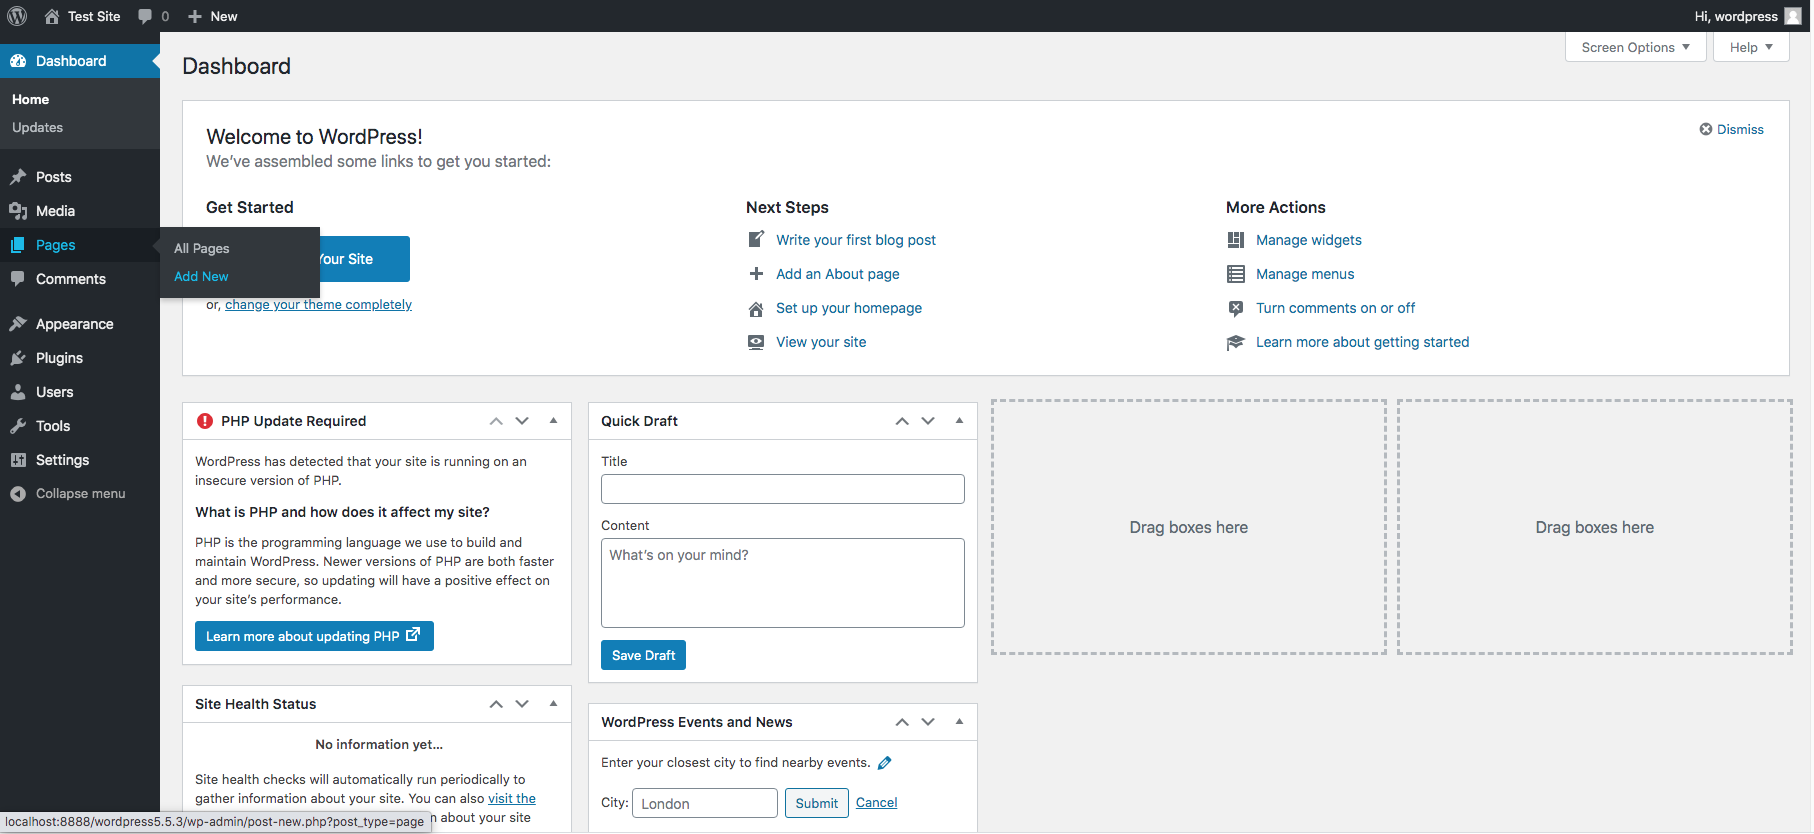
**Step 1: Create a new page **
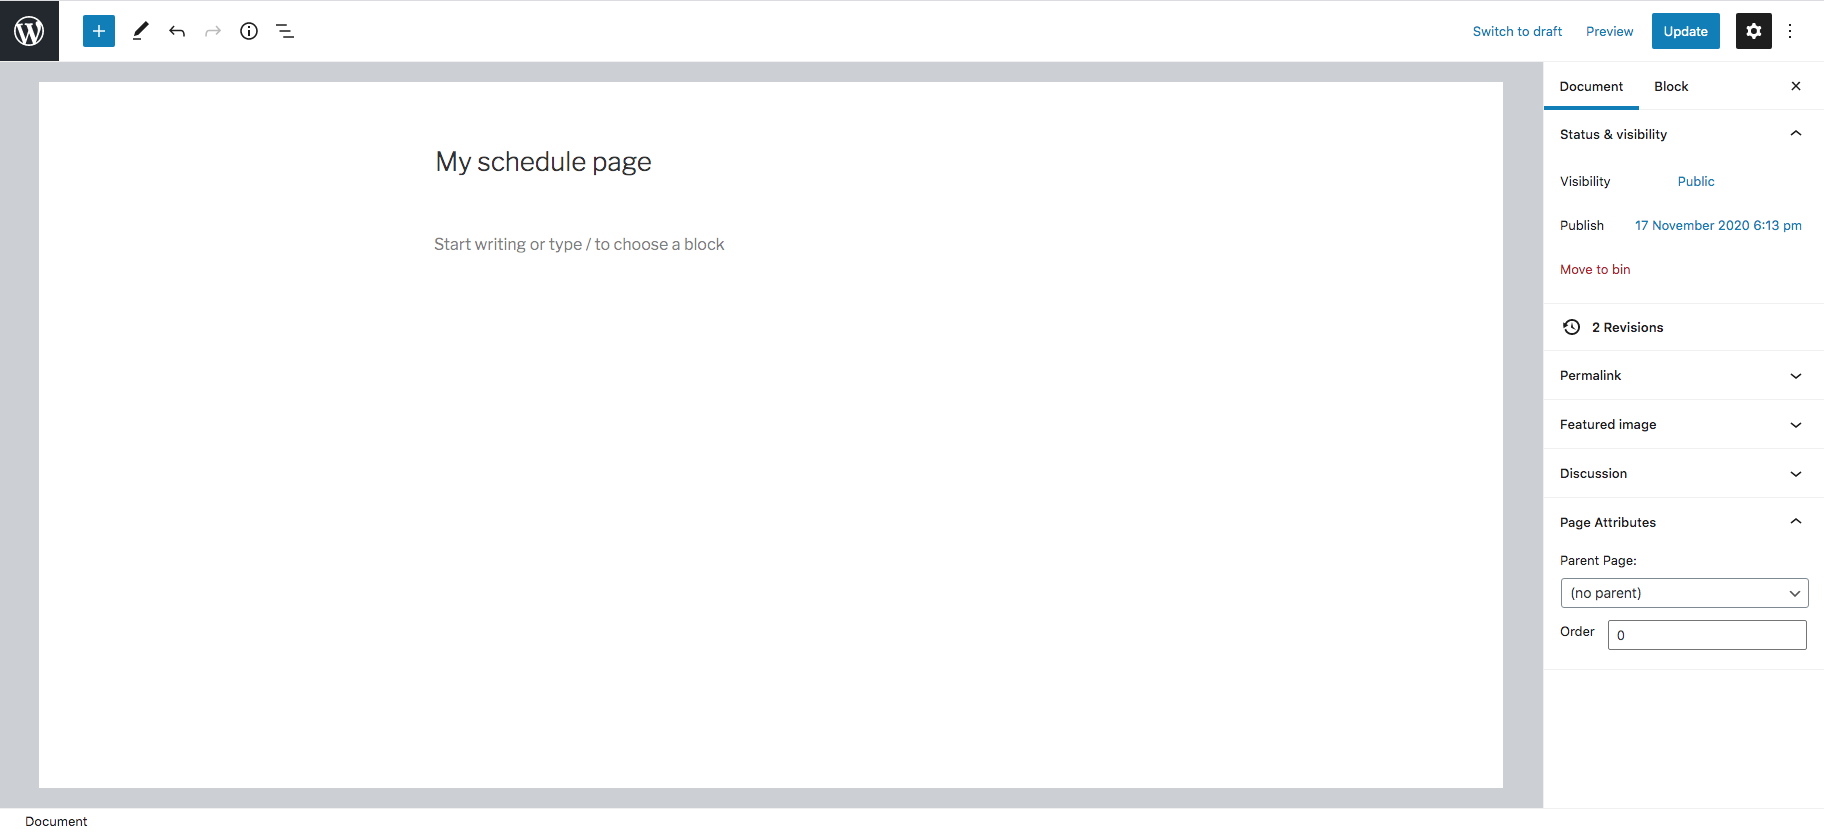
Step 2: Give the Wordpress page a title
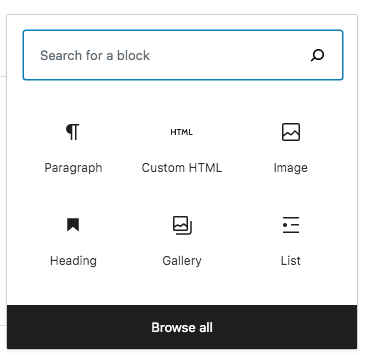
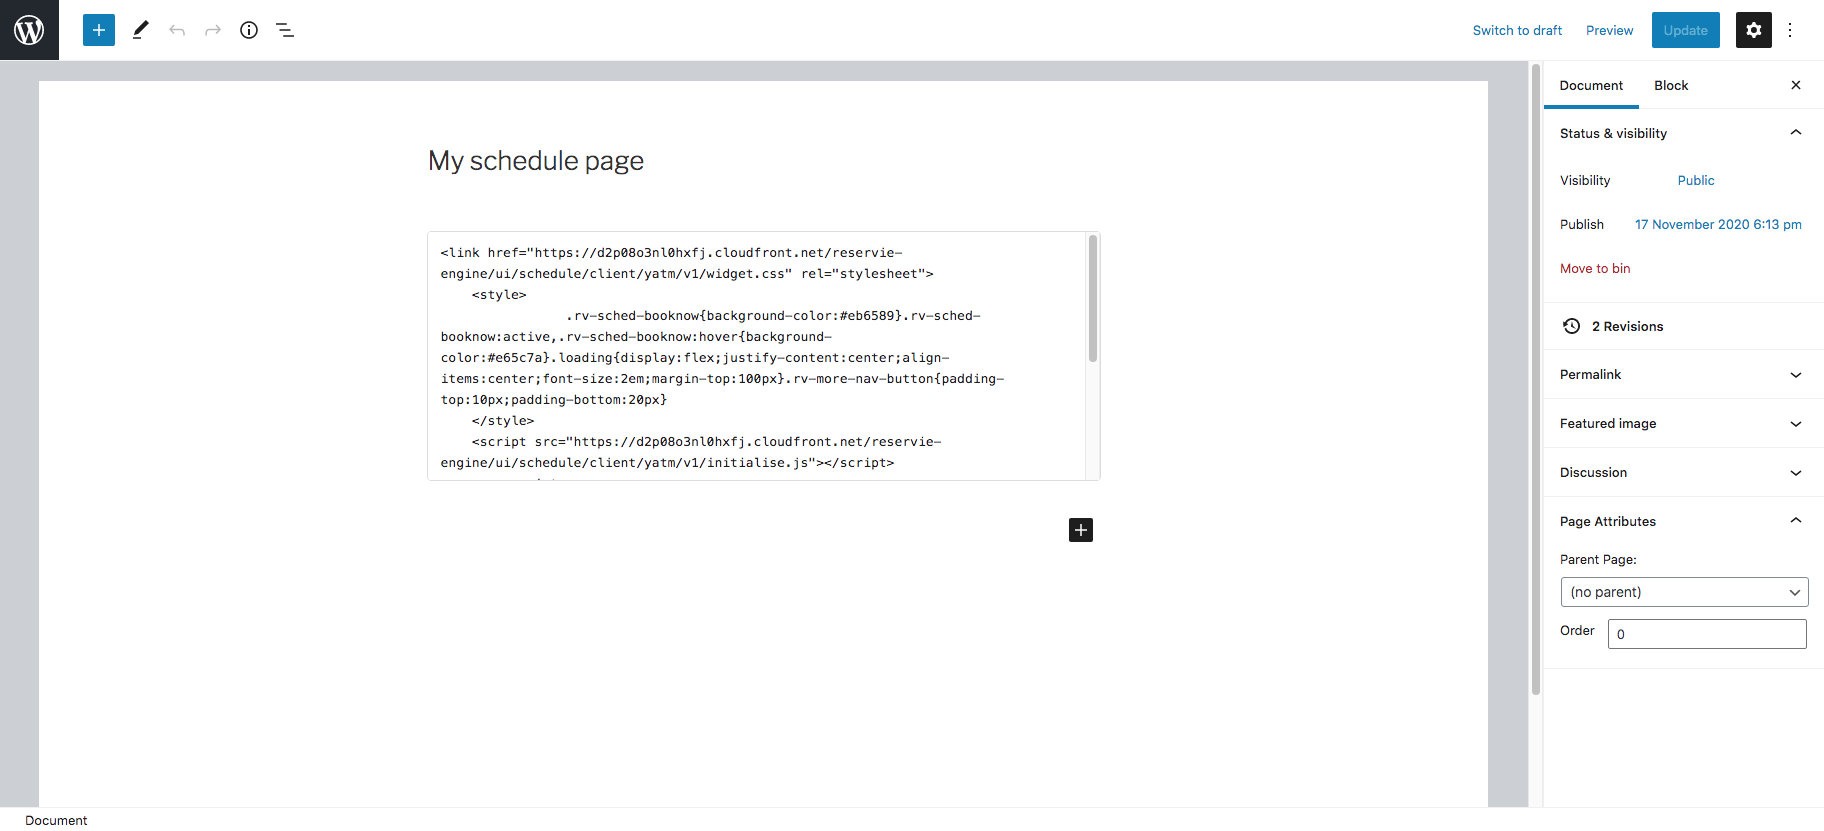
** Step 3: Select the ‘Add Block’ and select ‘Custom HTML’ code**
In the Wordpress block editor, click the Custom HTML button
Step 4: Copy and Paste the reserVie schedule code into the box provided
Wordpress will now display a box. Copy the ‘code’ generated in reservie (see Getting started with Schedules if you have not generated the ‘code’). Copy, the ‘code’ into the box provided by Wordpress.
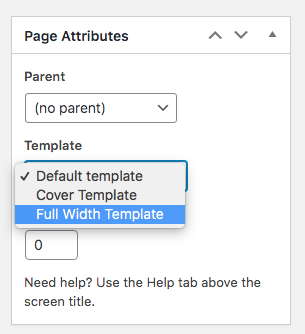
**Step 5 - Change the template to full width and publish the page **
Using the page attributes, change the page template to ‘full width’
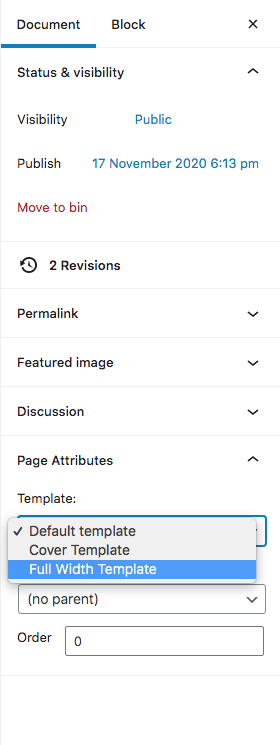
Finally publish the page.
Tip: Depending upon the width of your template, you may need to adjust the CSS styles of the schedule. Please contact us if you need assistance with this, we are happy to help.
Using Headers and Footers plug-in
If you are using the ‘Headers and Footers’ plugin, the first step is to install the plugin into your website.
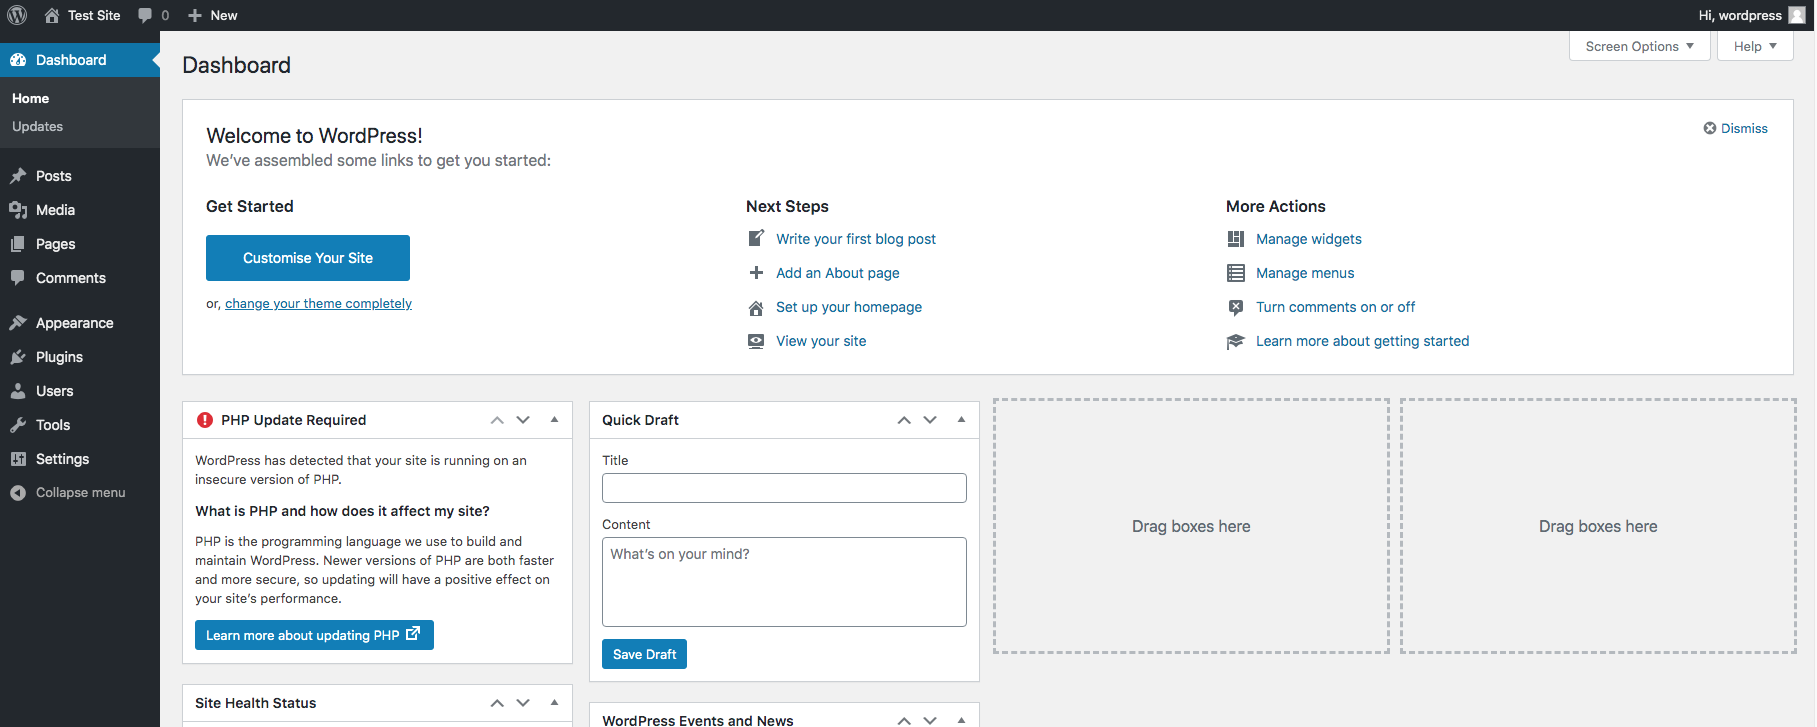
Step 1: Log in to your website’s wordpress admin panel
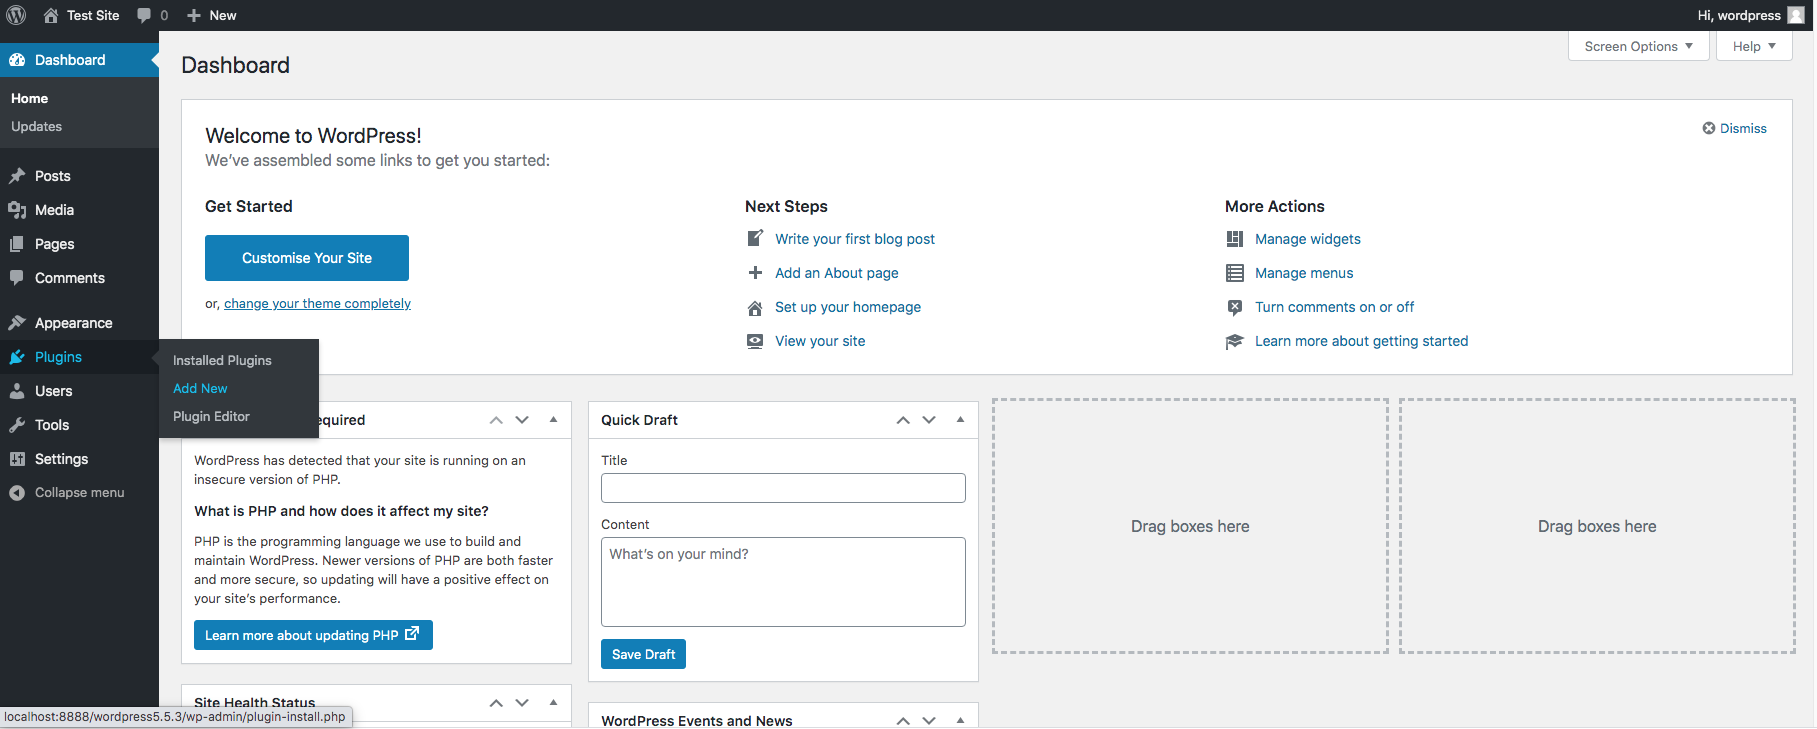
Step 2: Navigate to Plugins -> Add new
The ‘Add plugins’ page will now load. Once loaded, enter ‘Insert Headers and Footers’ into the toolbar.

Wordpress will display, all possible matches. You should see a match that looks as follows:
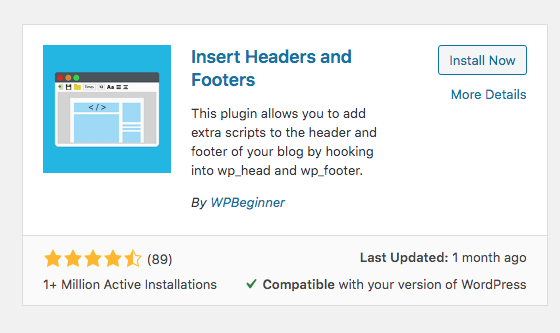
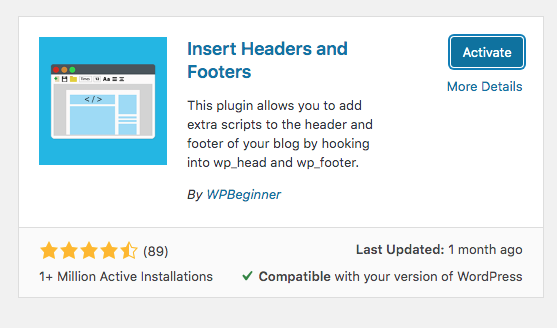
**Step 3: Install plugin **
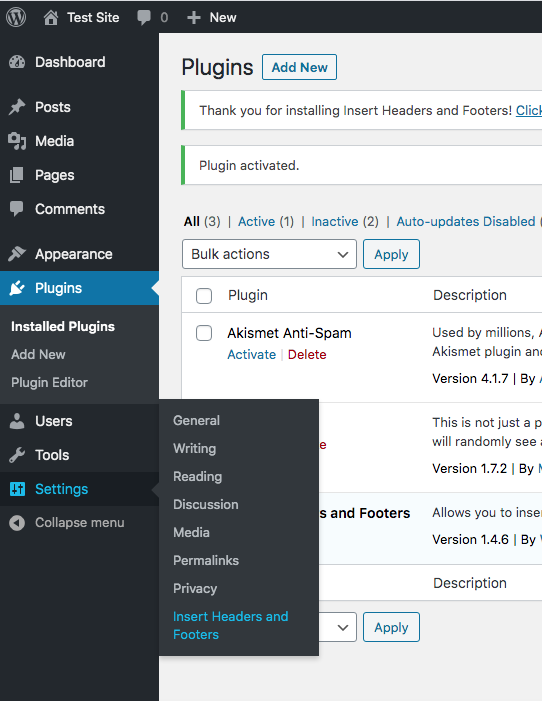
Once you have located the plugin, click the ‘install now’ button to install the plugin. Once installed, you will need to activate the plug-in. To do so, click the ‘activate’ button.
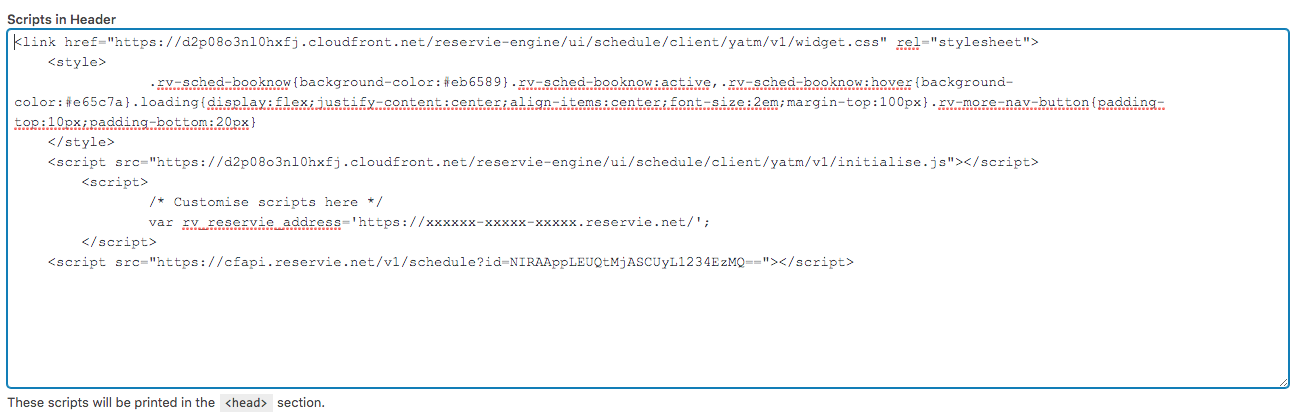
Step 4: Add reservie code segment to Wordpress plugin.
Navigate to Settings -> Insert Headers and Footers
Wordpress will display the following:
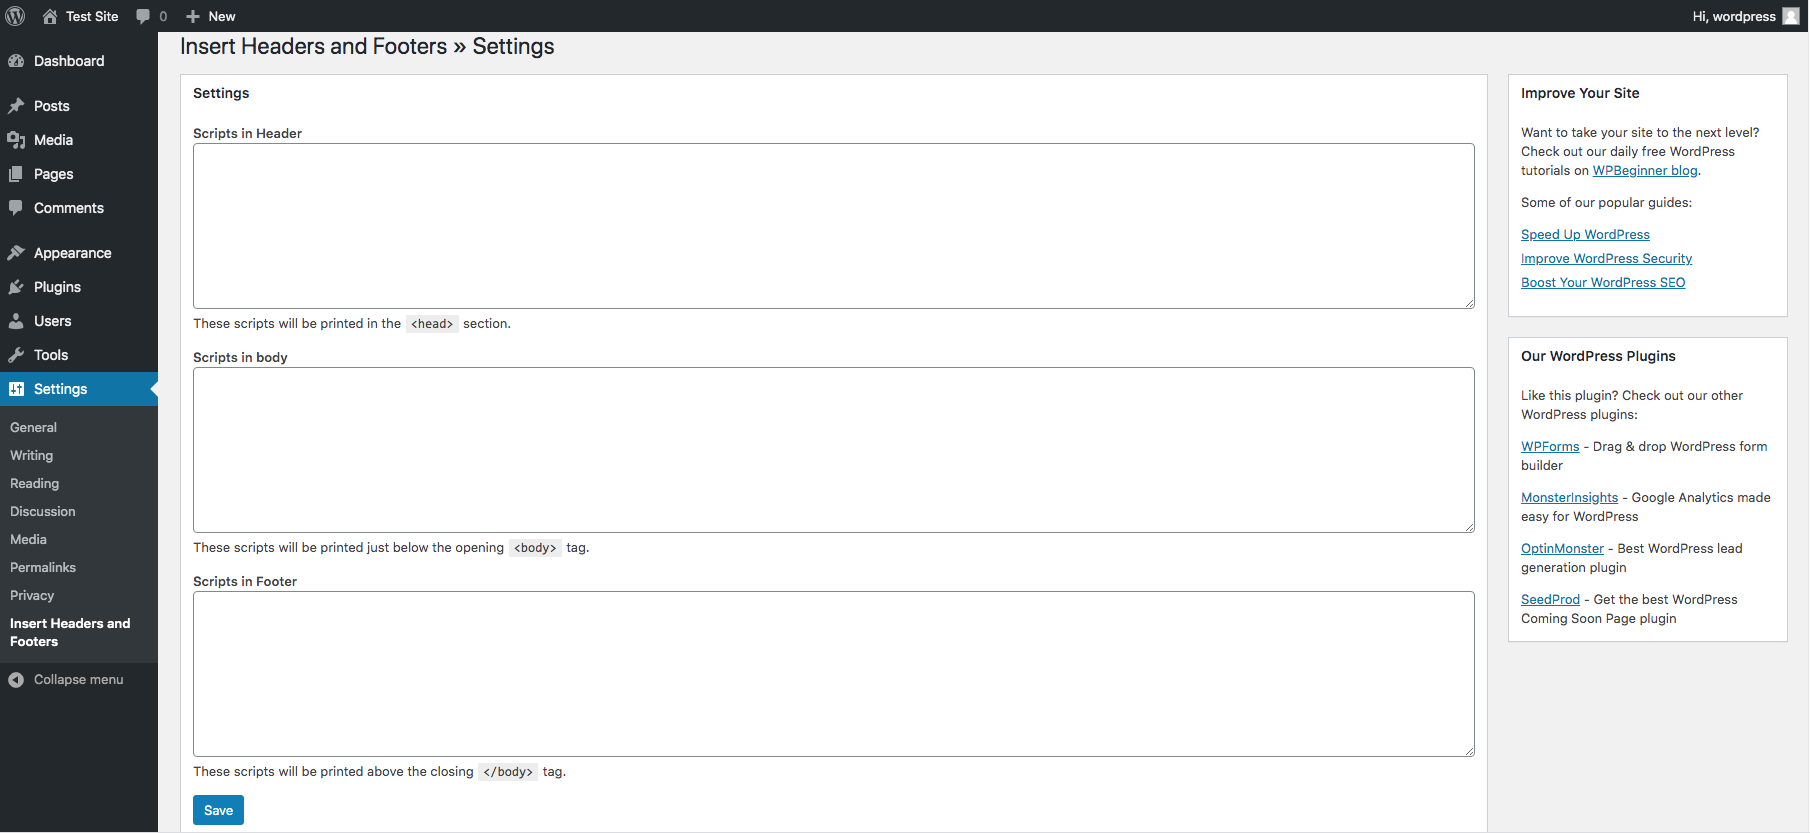
Next take the ‘code’ that you created when you generated the schedule, as described here and split this into 3 parts:
- Header
- Body
- Footer
*Tip: Please contact support, we would be happy to help you generate the three parts. *
Step 5: Copy the header code into the Header box and the Footer code into the footer box

Step 6: Create a Timetable page
Select Page -> Add new and create a new page
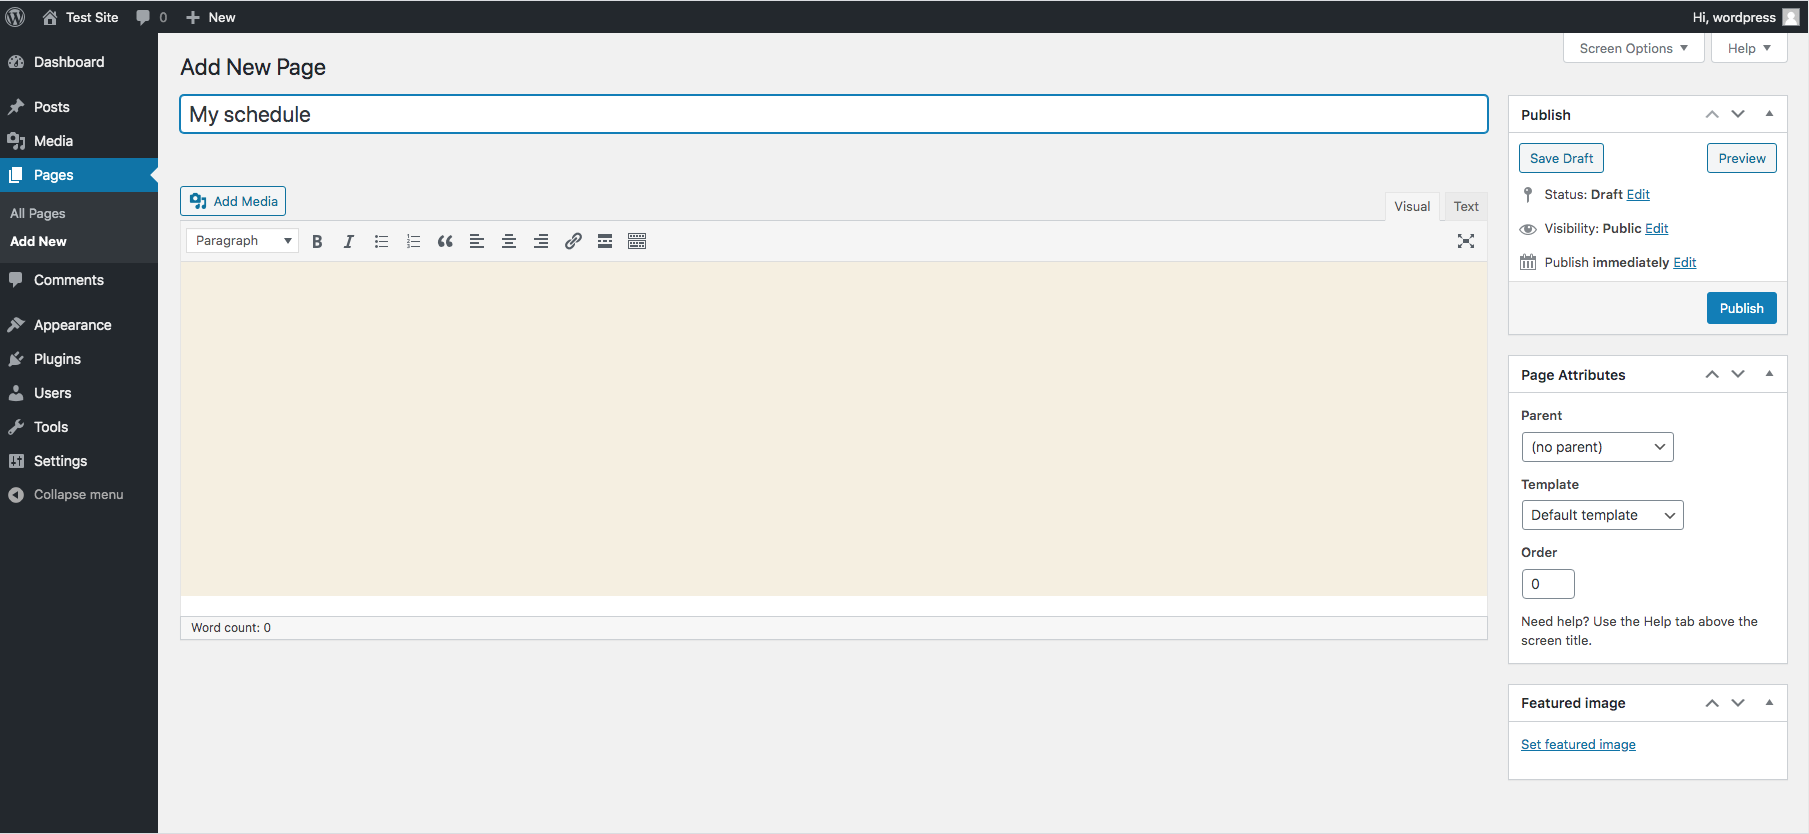
Select the ‘Text’ tab

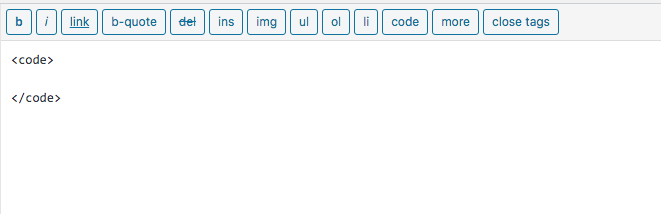
Step 7: Add code tags to the page
Click the code button twice to add the <Code></Code> tags
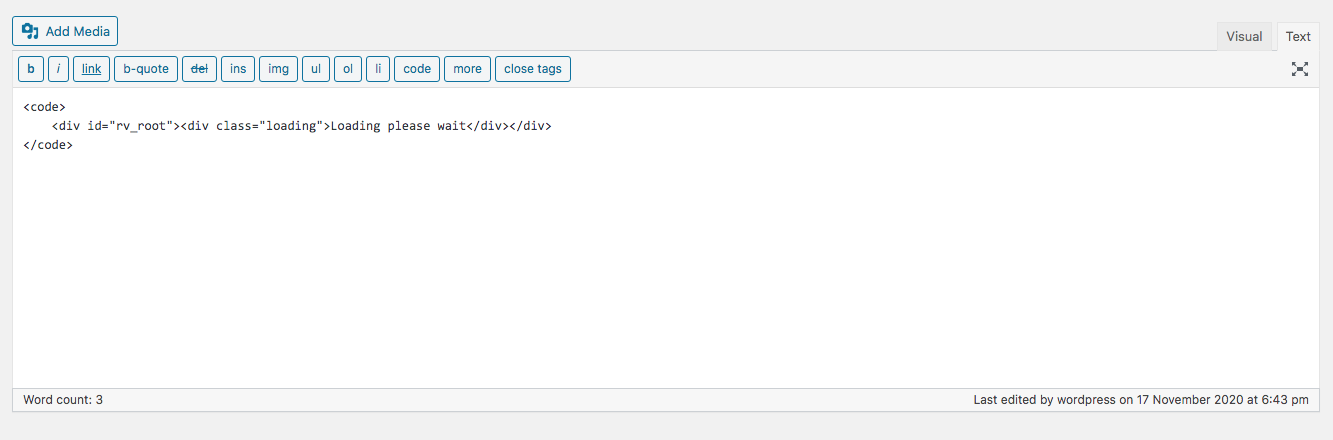
Step 8: Paste the ‘body’ section of the reserVie schedule code between the ‘code’ tags
Step 9: Change page attributes to ‘full width’ and click the ‘publish’ button