Overview
Creating a questionnaire involves defining the basic details, adding questions, and then attaching the questionnaire to a schedule so customers are prompted to complete it during checkout.
Creating a questionnaire
- Navigate to Questionnaires from the sidebar menu.
- Click the + Create Questionnaire button.
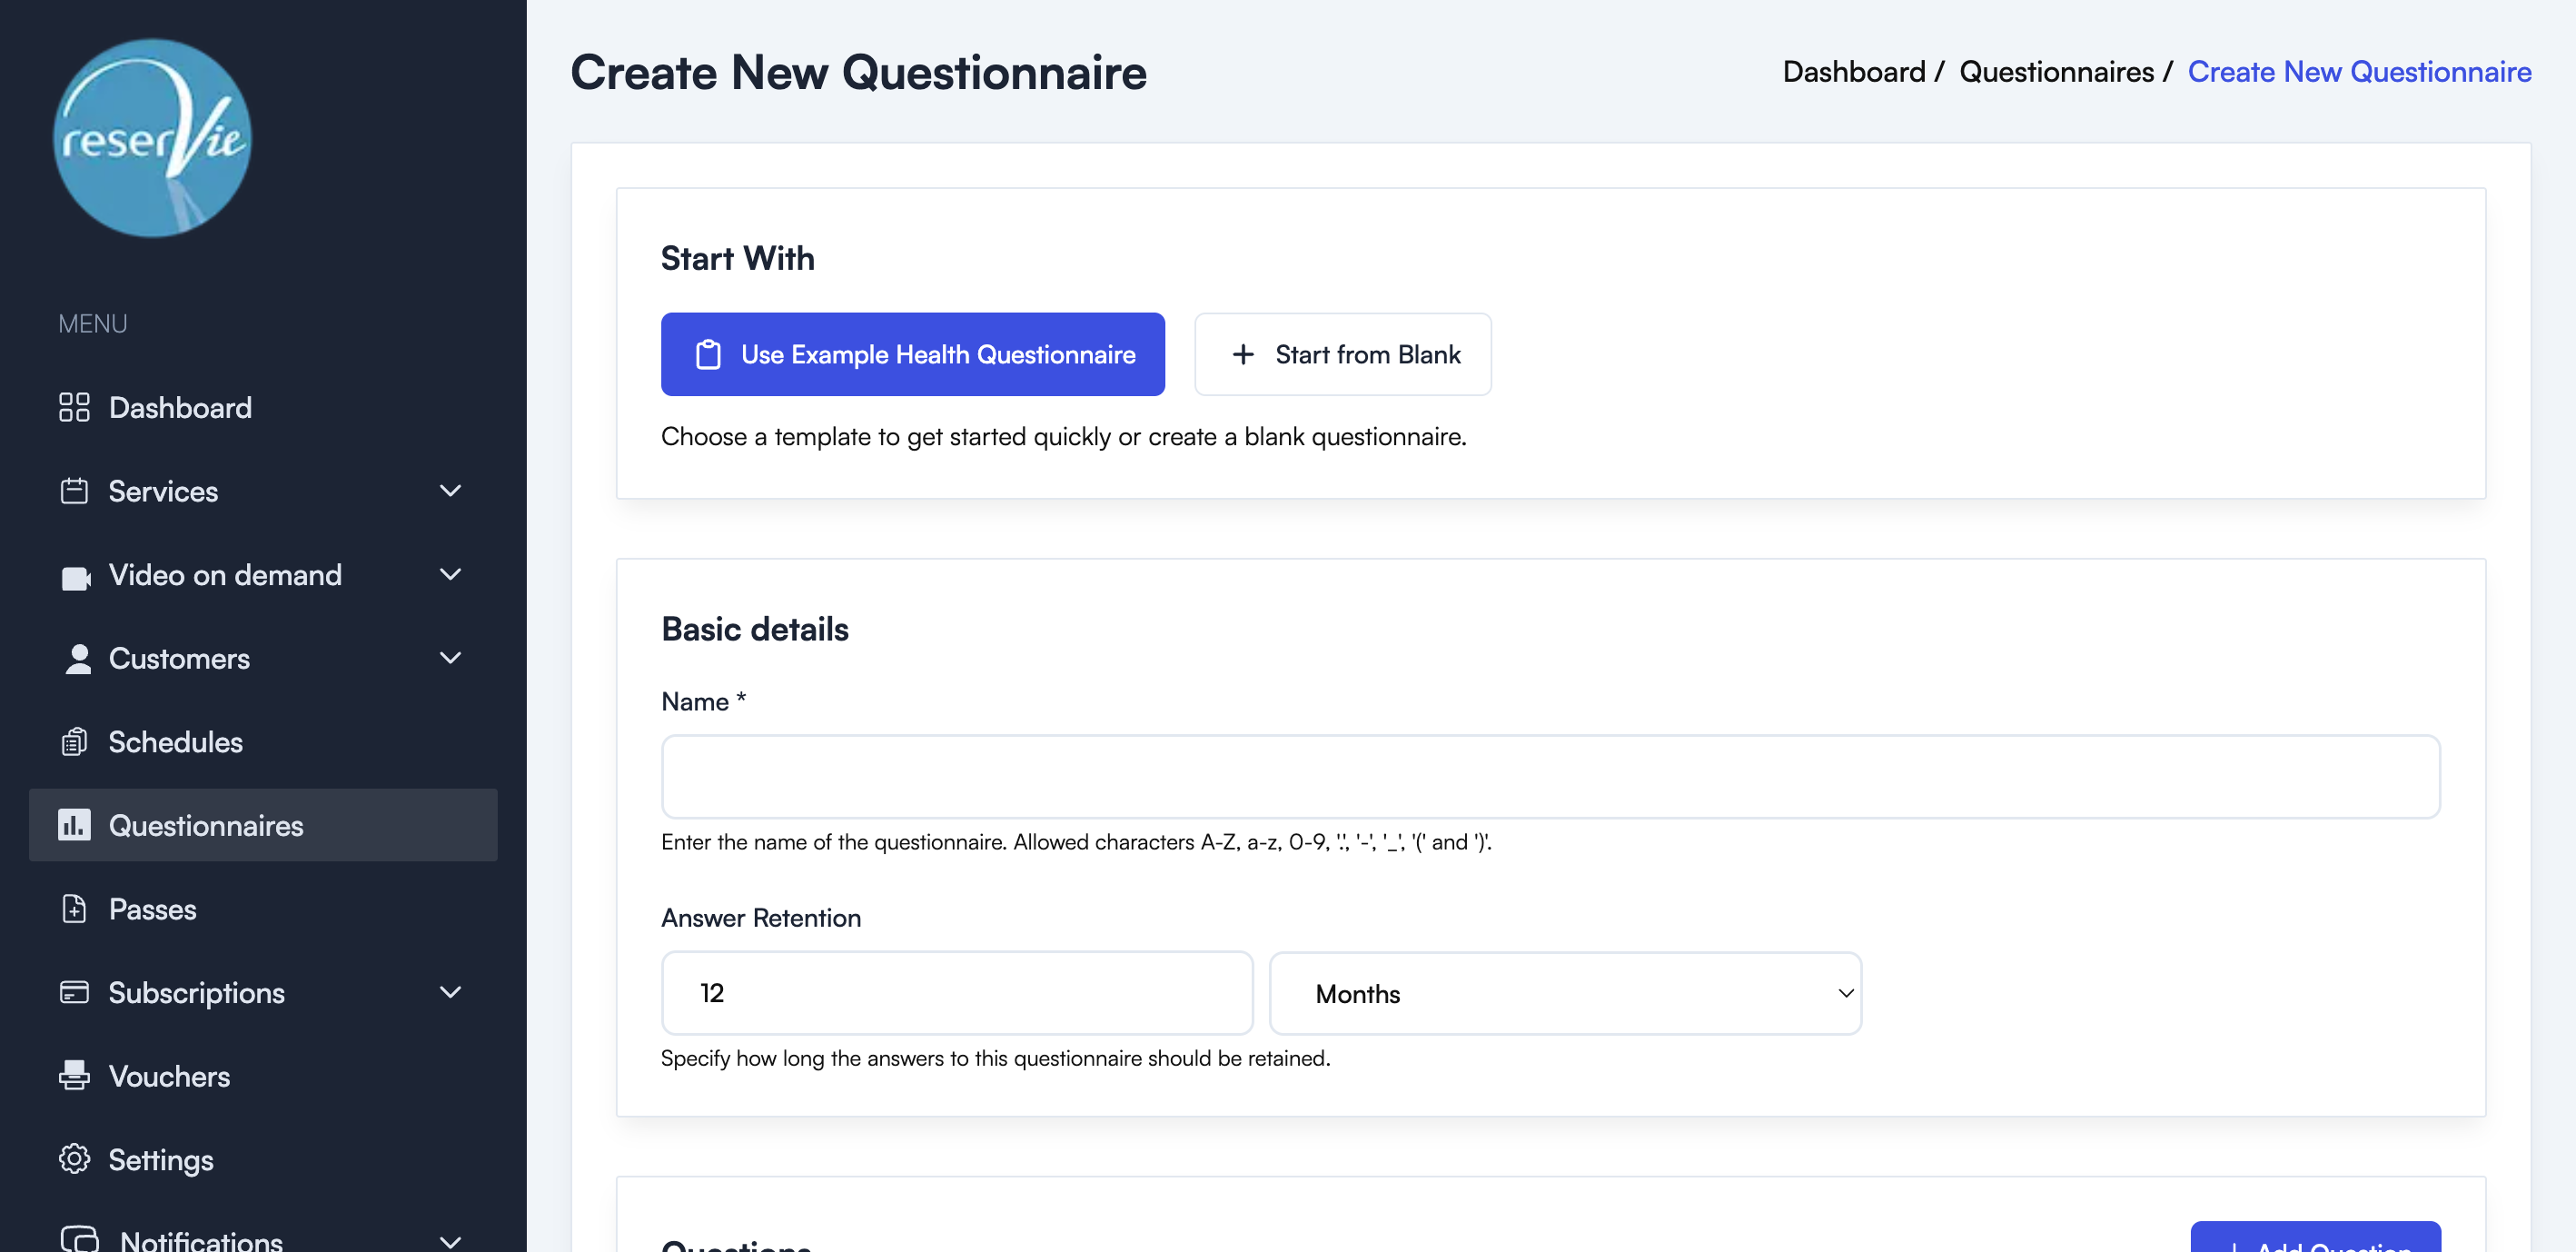
Start with a template or blank
You can choose to:
- Use Example Health Questionnaire — Pre-populates the form with a health and fitness assessment template including questions about fitness goals, health conditions, medications, and emergency contacts.
- Start from Blank — Begin with an empty questionnaire.
Note: The example template is provided for reference purposes only. If you are using it as a contract between you and your customers, you should seek independent legal advice.
Basic details
- Name — A name to identify this questionnaire.
- Answer Retention — How long customer answers should be retained. Set the number and choose Months or Years.
Adding questions
Click the + Add Question button to add a question. Each question has a type that determines how the customer will interact with it.
Question types
The questionnaire editor supports six question types:
| Type | Description | Use case |
|---|---|---|
| Single text box | A single-line text input | Short answers like names, phone numbers |
| Multi-line text box | A multi-line text area | Longer answers like descriptions of health conditions |
| Multiple choice | Customer selects one option from a list | Yes/No questions, activity level ratings |
| Multiple checkbox options | Customer can select multiple options from a list | Health conditions, fitness goals |
| Text block | Read-only text displayed to the customer | Instructions or information the customer should read |
| Text block with read confirmation | Read-only text with a checkbox the customer must tick | Terms, waivers, or consent statements |
Question options
For each question, you can configure:
- Question text — The question or statement to display (max 2048 characters).
- Required — Whether the customer must answer this question to proceed.
- Options (Multiple choice / Multiple checkbox) — The list of possible answers. Each option can be marked as Important to flag significant responses.
- Confirmation text (Text block with read confirmation) — The text that appears next to the checkbox.
Questions can be reordered using the Move Up and Move Down buttons, or removed using the delete button.
Click Save Questionnaire to create the questionnaire.
Attaching a questionnaire to a schedule
Once created, you need to attach the questionnaire to a schedule for it to be presented to customers:
- Navigate to Schedules from the sidebar menu.
- Edit the schedule you want to attach the questionnaire to.
- In the Questionnaires section of the schedule editor, select the questionnaire from the dropdown.
- Click Save Schedule.
The questionnaire will now be presented to customers during the checkout process for events in that schedule.
Note: When a questionnaire is attached to a schedule, the system automatically prevents customers from booking on behalf of others, as each person must complete the questionnaire individually.