Overview
Customer groups let you organise your customers into named collections. This is useful for grouping customers by class, membership tier, location, or any other criteria that makes sense for your business.
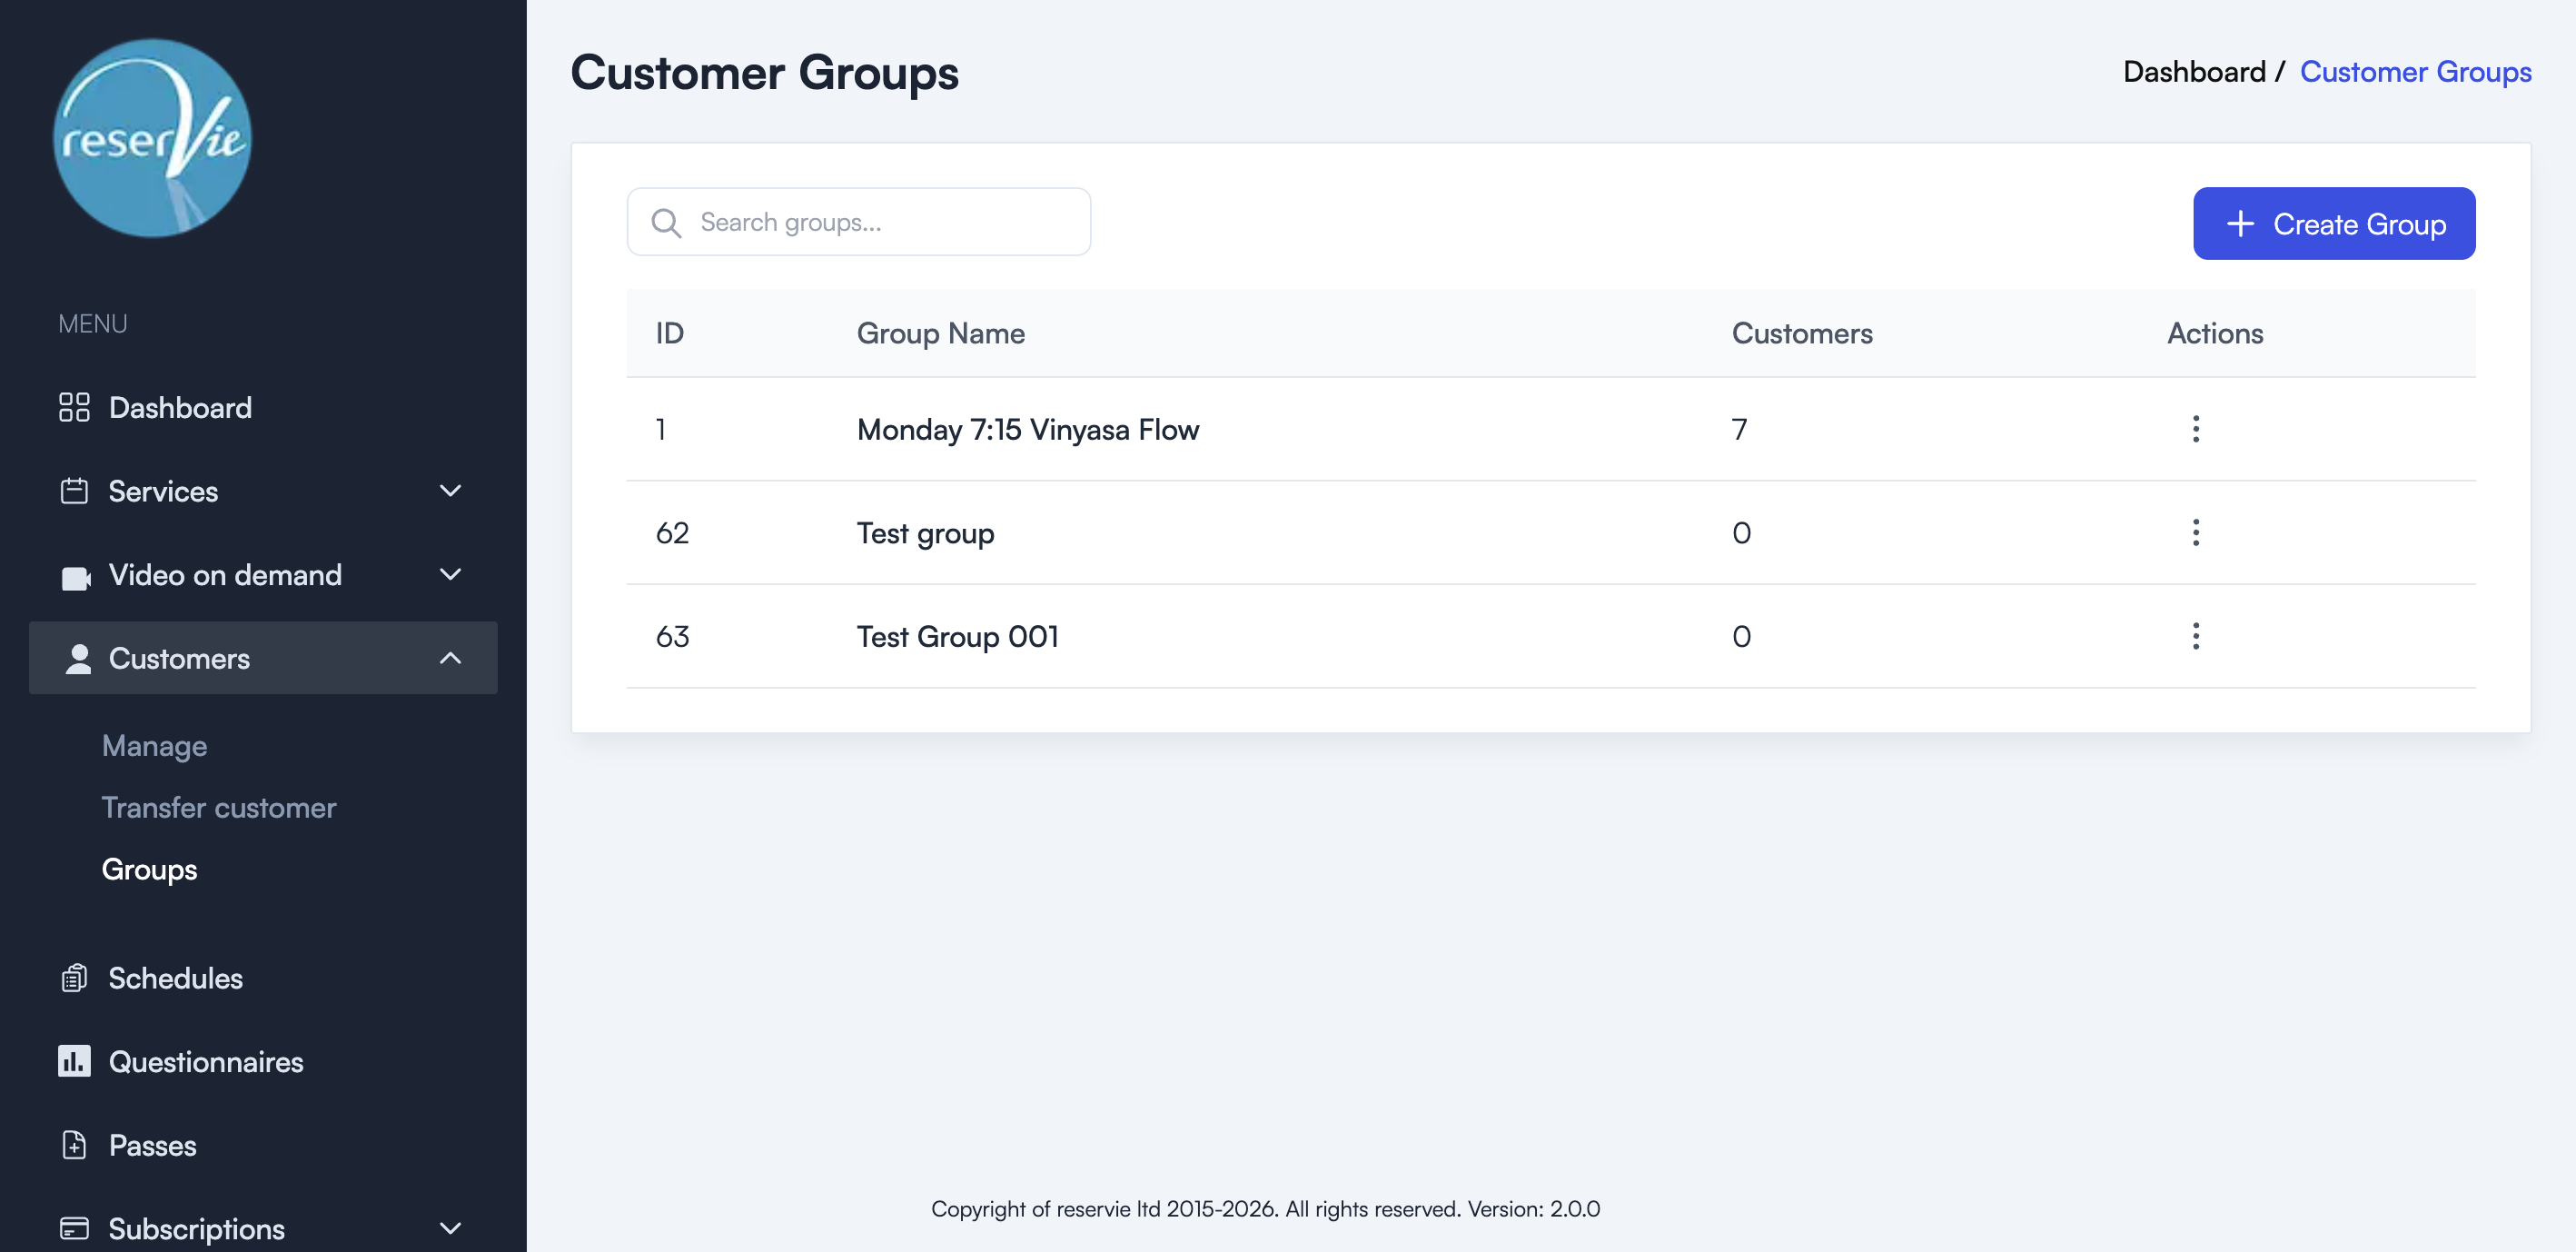
Navigate to Customers > Groups from the sidebar menu.
Viewing groups
The Groups page displays all your groups in a table with the following columns:
| Column | Description |
|---|---|
| ID | The unique group identifier |
| Group Name | The name of the group |
| Customers | The number of customers in the group |
| Actions | Menu with management options |
Use the search bar to find groups by name.
Creating a group
- Navigate to Customers > Groups.
- Click the + Create Group button.
- Enter a name for the group.
- Save the group.
Tip: Use descriptive names that reflect the purpose of the group, such as “Monday 7:15 Vinyasa Flow” or “Premium Members”.
Managing groups
From the action menu on each group, you can:
- Edit — Rename the group or modify its members.
- Delete — Remove the group. This does not delete the customers within it.
Adding customers to a group
Once a group has been created, you can add customers to it by editing the group and selecting customers from your customer list. Customers can belong to multiple groups simultaneously.