Overview
A Reservie schedule is a widget that generates and displays your events in a timetable format. Schedules can be embedded directly into your website or accessed via a hosted page link.
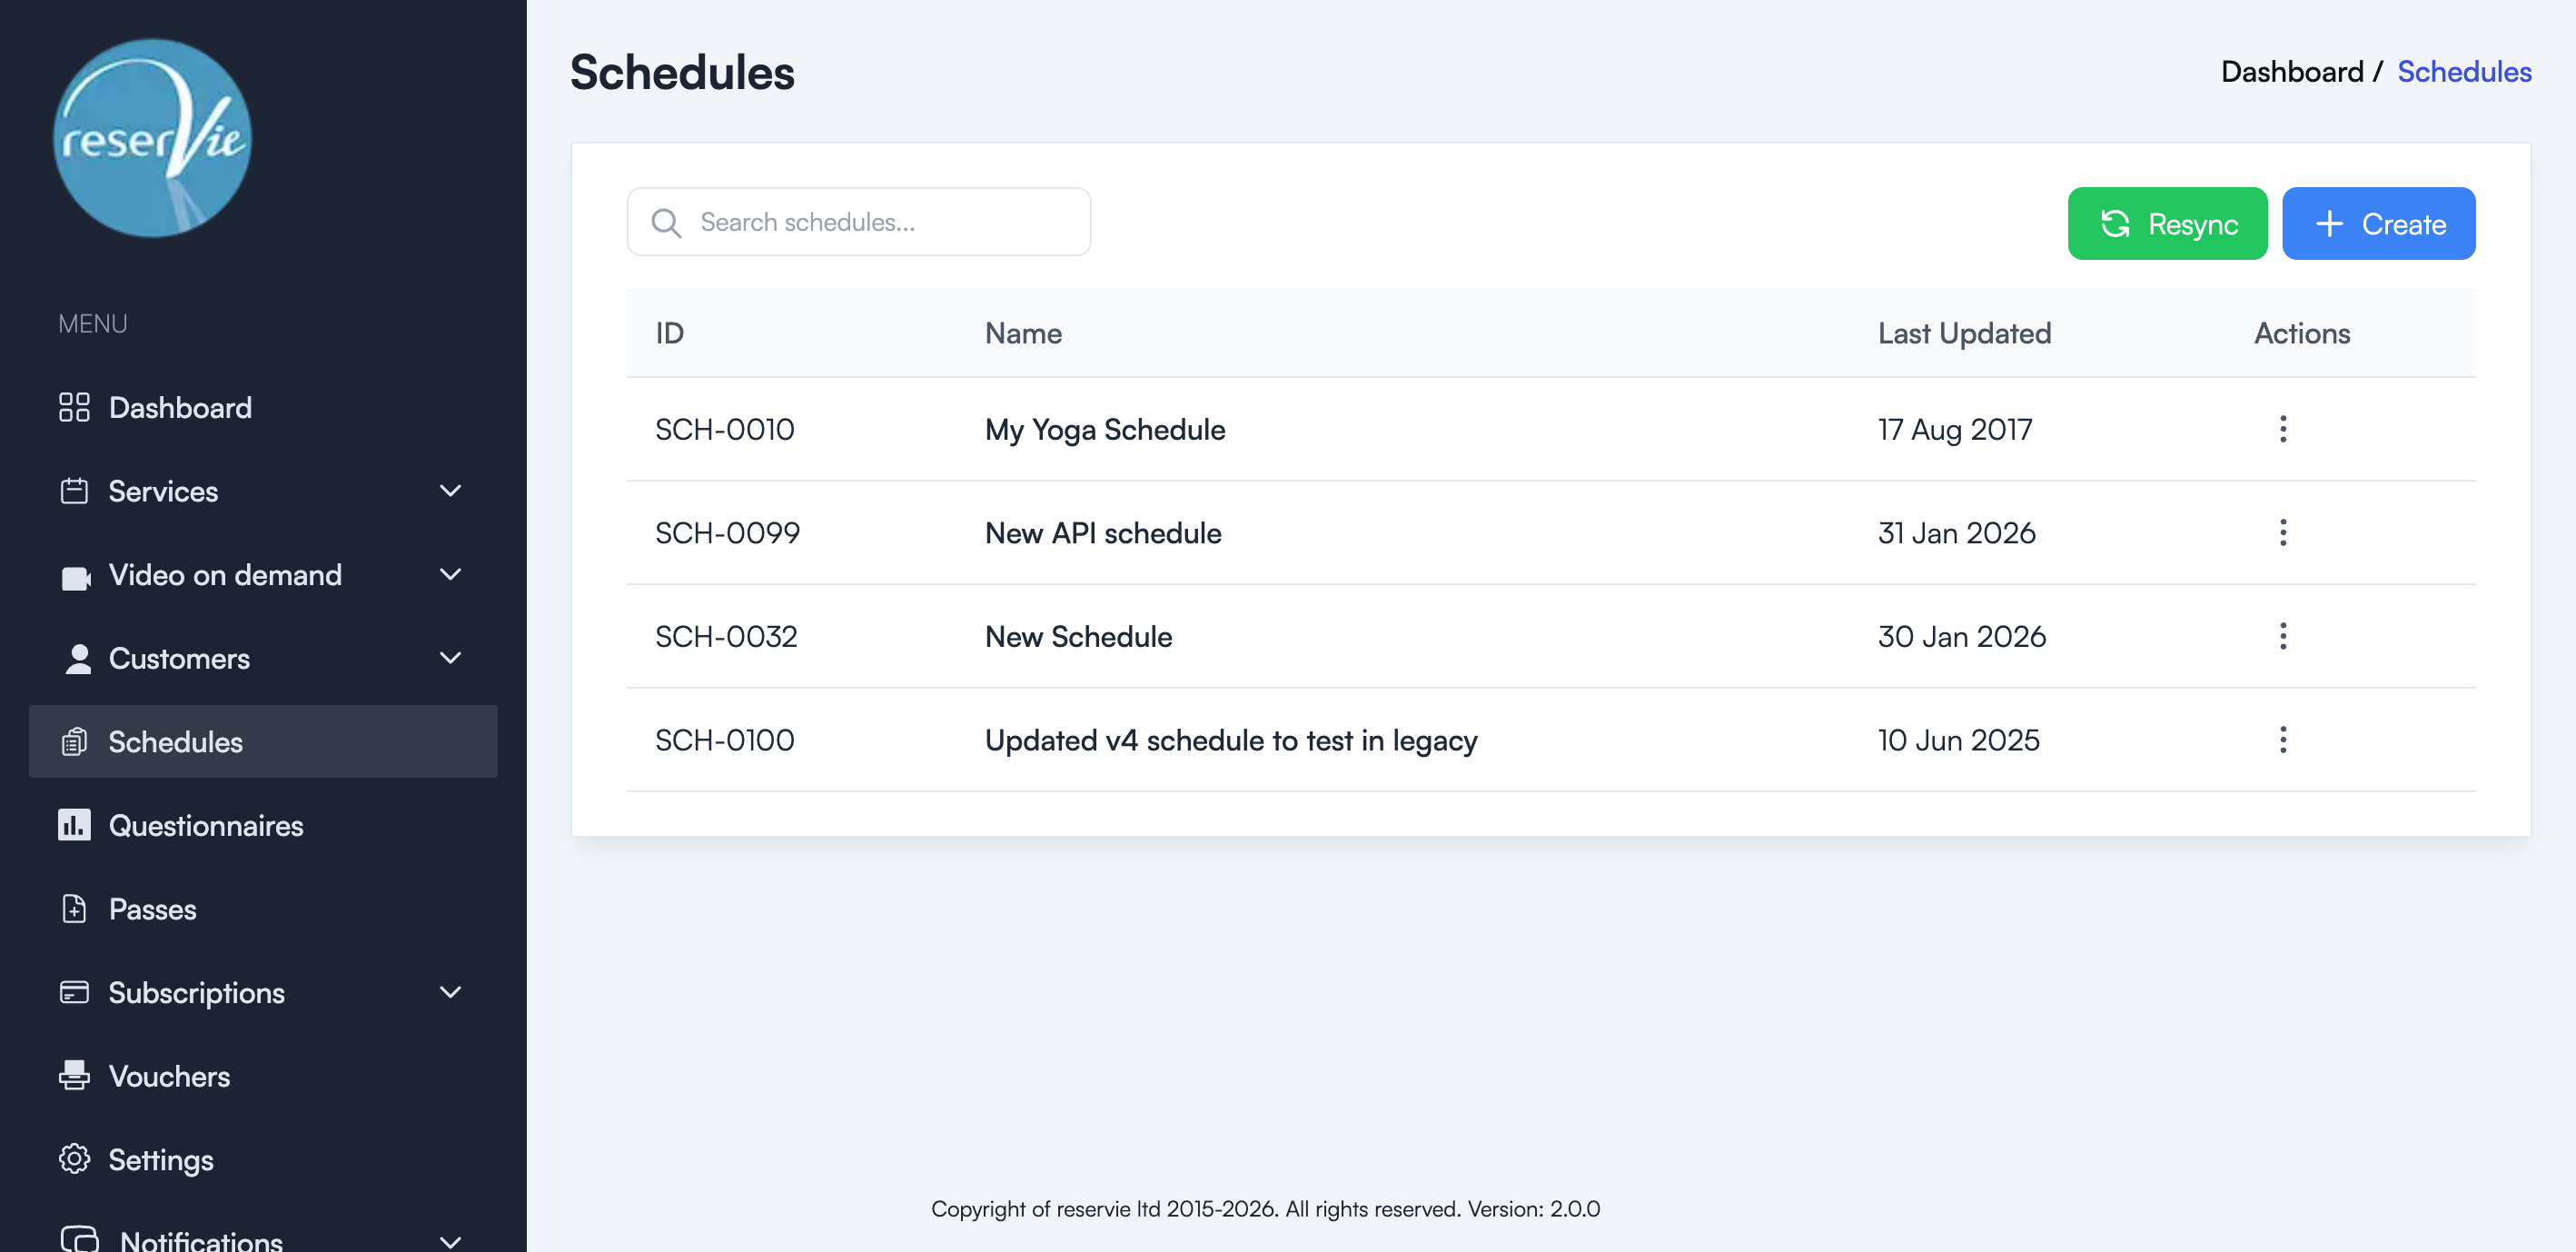
Schedules are managed from the Schedules page in the sidebar menu.
Creating a schedule
- Navigate to Schedules from the sidebar menu.
- Click the + Create button.
The schedule editor will open with several configuration sections.
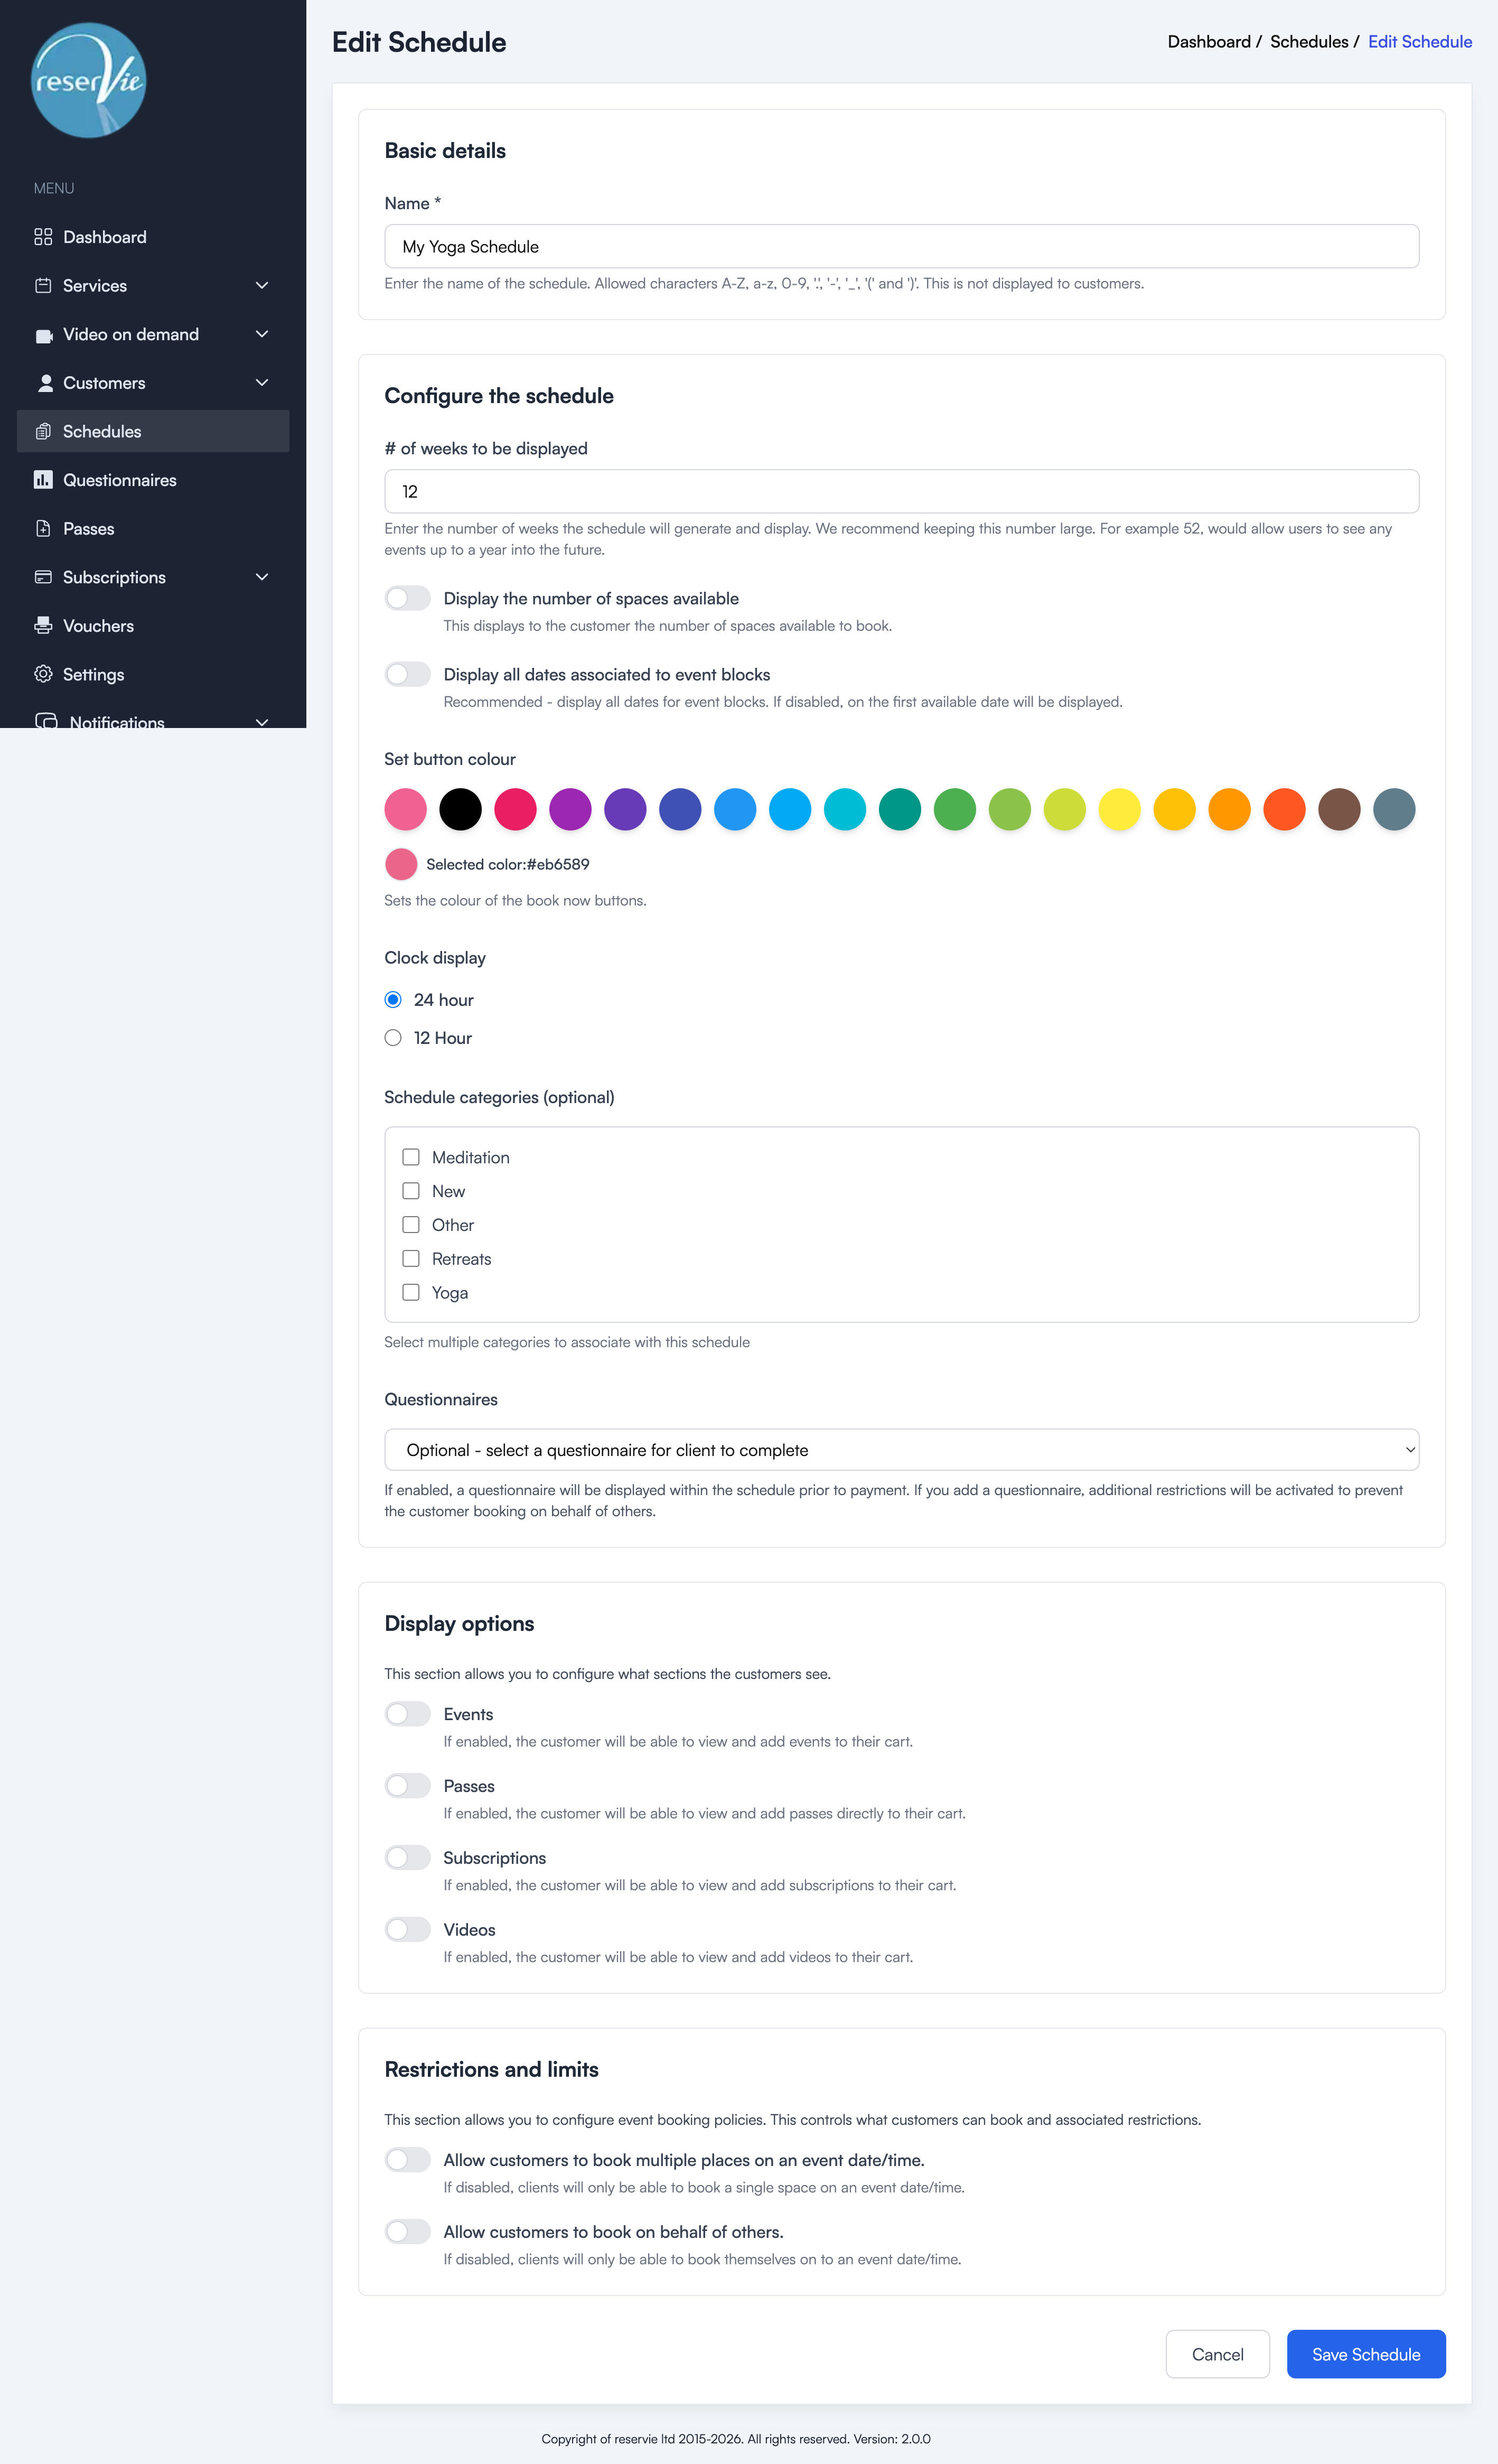
Basic details
- Name — A name to identify this schedule. This is for your reference only and is not displayed to customers.
Configure the schedule
- Number of weeks to display — How many weeks of events the schedule should show. We recommend 4 weeks for most use cases. Setting this to 52 would display a full year.
- Display the number of spaces available — When enabled, customers can see how many spaces remain for each event.
- Display all dates associated to event blocks — When events are arranged as a block or course, only the first available date is shown by default. Enable this to show all dates.
- Set button colour — Customise the colour of booking buttons in the schedule to match your brand. Choose from the colour palette provided.
- Clock display — Choose between 24 hour or 12 hour clock format.
- Schedule categories (optional) — Filter the schedule to only show events associated with specific categories (e.g. Yoga, Meditation, Pilates).
- Questionnaires — Optionally attach a questionnaire that customers must complete before payment. When enabled, additional restrictions are activated to prevent customers from booking on behalf of others.
Display options
Control what sections are visible to customers in the schedule:
- Events — When enabled, customers can view and add events to their cart.
- Passes — When enabled, customers can view and purchase passes directly from the schedule.
- Subscriptions — When enabled, customers can view and add subscriptions to their cart.
- Videos — When enabled, customers can view and add videos to their cart.
Restrictions and limits
- Allow customers to book multiple places on an event date/time — If disabled, customers can only book a single space per event.
- Allow customers to book on behalf of others — If disabled, customers can only book for themselves.
Click Save Schedule to create the schedule.
Viewing existing schedules
The Schedules page displays all your schedules in a table with:
| Column | Description |
|---|---|
| ID | The unique schedule identifier (e.g. SCH-0010) |
| Name | The schedule name |
| Last Updated | When the schedule was last modified |
| Actions | Edit, delete, or access the schedule code |
Resyncing schedules
Click the Resync button at the top of the page to refresh all schedules. This forces the schedules to regenerate with the latest event data.
Next steps
- See Schedule Configuration for detailed configuration options.
- See Embedding Your Schedule for instructions on adding a schedule to your website.